The 10 Most Terrifying Things About Affordable Door Handle Repair
페이지 정보
본문
Affordable Door Handle Repair: A Comprehensive Guide
Door handles are typically one of the most pre-owned elements in our homes. They face the daily wear and tear of being pulled, twisted, and pressed. In time, this can cause wear and tear, making them difficult to operate or even causing them to break completely. Fortunately, door handle repair doesn't need to spend a lot, and with a little guidance, anybody can tackle this basic job themselves.
In this blog site post, we'll explore the ins and outs of Affordable door handle repair shop door handle (https://codimd.communecter.org) handle repair, including costs, tools needed, detailed guidelines, and often asked questions. Let's dive in!

Tabulation
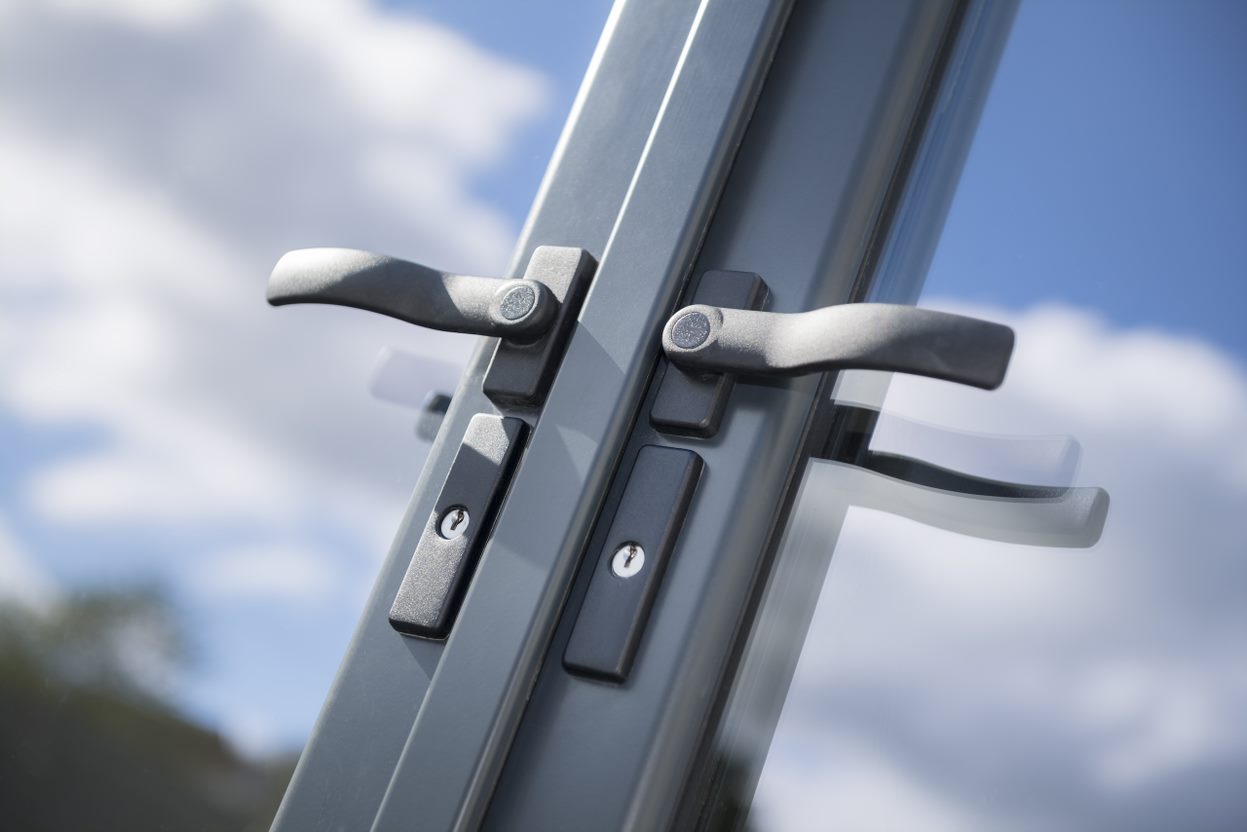
- Understanding Door Handle Types
- Indications of Damage
- Tools Required for Repair
- Step-by-Step Repair Guide
- Cost Breakdown
- Frequently asked questions
Understanding Door Handle Types
Before delving into repair strategies, it's vital to comprehend the various types of door handles. Here's a quick introduction that can assist figure out the repair requires:
| Door Handle Type | Description | Common Issues |
|---|---|---|
| Lever Handles | Pivoting handles typically discovered on interior doors. | Loose handles, misalignment. |
| Knob Handles | Round handles that can be turned. | Sticking, wobbling. |
| Deadbolt Locks | Safe and secure locks that often have a different handle. | Handle disconnect, lock failure. |
| Sliding Glass Door Handles | Specialized handles for sliding doors. | Stuck handles, broken mechanisms. |
Signs of Damage
Identifying the indications of damage can help homeowners address concerns before they worsen. Common signs consist of:
- Wobbling Handles: A loose handle can indicate missing out on screws or damaged internal components.
- Trouble Turning: If a handle feels stiff or won't turn at all, there might be internal concerns.
- Noticeable Cracks or Breaks: Physical damage is frequently a clear indication that replacement or repair is necessary.
- Misalignment: When a door handle does not line up properly, it can hinder door operation.
Tools Required for Repair
Before starting the repair, collect the essential tools. Here's a handy checklist:
| Tool | Purpose |
|---|---|
| Screwdriver | To remove screws and set up new parts. |
| Pliers | To understand and twist small parts, if required. |
| Replacement Parts | New handle, screws, or internal elements. |
| Lubricant | To make sure smooth operation post-repair. |
| Determining Tape | To determine the area for brand-new hardware if necessary. |
Step-by-Step Repair Guide
Repairing a door handle can frequently be completed in a few easy steps. Here's a general guide to follow:
Step 1: Gather Information
Identify the type of handle you have and the particular issues. Research replacement parts or repairs required.
Step 2: Remove the Handle
Using your screwdriver, loosen the handle bar repair from the door. Make sure to keep screws in a safe place for reinstallation.
Action 3: Inspect Internal Components
Once the handle is gotten rid of, check the internal elements for any signs of wear. Search for broken parts or missing screws that could be triggering problems.
Step 4: Replace Damaged Parts
If any internal parts are damaged, replace them with brand-new ones. Many local hardware stores bring replacement parts for popular brands.
Step 5: Lubricate Moving Parts
Before reassembling, use a little amount of lubricant to any moving parts. This can help guarantee smooth operation once the handle is reattached.
Step 6: Reattach the Handle
Carefully reattach the handle by aligning it properly and protecting it with screws. Make sure everything is tight and secure however do not over-tighten to avoid removing screws.
Action 7: Test the Handle
Carefully check the handle to guarantee it runs smoothly. If there are still problems, verify the installation and make sure all elements are lined up correctly.
Cost Breakdown
Understanding the cost related to door handle repair can help property owners budget plan accordingly. Below is an easy cost breakdown:
| Item | Estimated Cost |
|---|---|
| Replacement Handle | ₤ 10 - ₤ 50 (depending upon design and quality) |
| Screws and Fasteners | ₤ 1 - ₤ 5 |
| Lube | ₤ 3 - ₤ 10 |
| Tools (if needed) | ₤ 10 - ₤ 50 (depending upon what you lack) |
| Total Estimated Cost | ₤ 24 - ₤ 115 |
This is significantly lower than employing a professional to handle the repair, which can frequently range from ₤ 100 to ₤ 200, depending on the intricacy of the problem.
Often Asked Questions
Q1: Can I fix a door handle myself?
Yes, many door handle repairs are straightforward and can be completed with very little tools and effort.
Q2: How long does it take to repair a door handle?
Generally, a simple repair can take anywhere from 15 minutes to an hour, depending on the problem and the experience of the individual doing the repair.
Q3: What if the door handle is still not working after a repair?
If the handle continues to malfunction, you may need to change the entire handle or seek advice from a professional for more intricate issues, like internal door frame problems.
Q4: Is it worth purchasing expensive door handles?
Quality handles tend to last longer and require less regular repairs. Nevertheless, it's vital to stabilize quality with your budget plan.
Door handle repair is an accessible skill for homeowners aiming to conserve cash and keep their homes in leading condition. With a little bit of persistence, the right tools, and this extensive guide, anyone can tackle the job of fixing or replacing a door handle fixer near me handle economically. By following the steps described above, property owners can ensure that their door handles stay functional and elegant. Now, get those tools, and get going on your door handle repair journey!