The 10 Most Terrifying Things About Affordable Door Handle Repair
페이지 정보
본문
Affordable Door Handle Repair: A Comprehensive Guide
Door handles are often among the most used components in our homes. They face the daily wear and tear of being pulled, twisted, and pressed. In time, this can cause wear and tear, making them challenging to operate or perhaps causing them to break completely. Fortunately, door handle repair does not have to break the bank, and with a little assistance, anybody can tackle this easy task themselves.
In this post, we'll check out the ins and outs of door handle home service handle repair, including costs, tools needed, detailed directions, and regularly asked questions. Let's dive in!
Tabulation
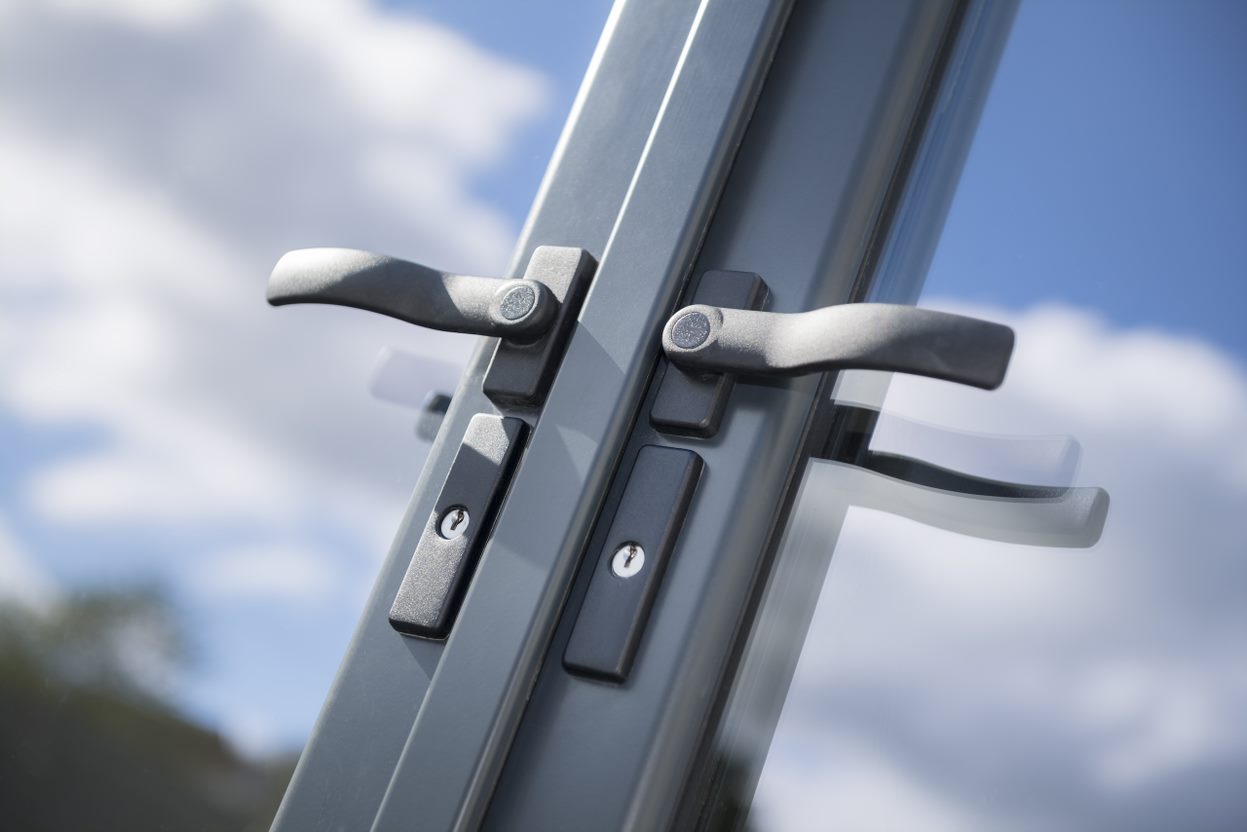
- Comprehending Door Handle Types
- Signs of Damage
- Tools Required for Repair
- Step-by-Step Repair Guide
- Cost Breakdown
- FAQs
Comprehending Door Handle Types
Before delving into repair strategies, it's necessary to comprehend the various types of door handles. Here's a quick introduction that can assist identify the repair requires:
| Door Handle Type | Description | Typical Issues |
|---|---|---|
| Lever Handles | Pivoting handles commonly discovered on interior doors. | Loose handles, misalignment. |
| Knob Handles | Round handles that can be turned. | Sticking, wobbling. |
| Deadbolt Locks | Secure locks that often have a different handle. | Handle disconnect, lock failure. |
| Moving Glass emergency door handle repair Handles | Specialized handles for moving doors. | Stuck handles, broken mechanisms. |
Indications of Damage
Identifying the indications of damage can help house owners address issues before they worsen. Common indications include:
- Wobbling Handles: A loose handle can show missing out on screws or damaged internal elements.
- Trouble Turning: If a handle feels stiff or won't turn at all, there may be internal issues.
- Visible Cracks or Breaks: Physical damage is frequently a clear indication that replacement or repair is needed.
- Misalignment: When a door handle doesn't align effectively, it can prevent door operation.
Tools Required for Repair
Before starting the repair, gather the necessary tools. Here's a useful list:
| Tool | Function |
|---|---|
| Screwdriver | To eliminate screws and install brand-new parts. |
| Pliers | To comprehend and twist small parts, if required. |
| Replacement Parts | New handle, screws, or internal parts. |
| Lubricant | To make sure smooth operation post-repair. |
| Measuring Tape | To determine the space for brand-new hardware if necessary. |
Step-by-Step Repair Guide
Repairing a door handle can frequently be finished in a few simple actions. Here's a basic guide to follow:
Step 1: Gather Information
Recognize the kind of handle you have and the specific issues. Research replacement parts or repairs required.
Step 2: Remove the Handle
Utilizing your screwdriver, loosen the handle from the door. Make sure to keep screws in a safe location for reinstallation.
Step 3: Inspect Internal Components
Once the handle is gotten rid of, examine the internal parts for any signs of wear. Search for broken parts or missing screws that might be causing concerns.
Step 4: Replace Damaged Parts
If any internal components are harmed, change them with new ones. The majority of local hardware stores bring replacement parts for popular brand names.
Step 5: Lubricate Moving Parts
Before reassembling, use a percentage of lube to any moving parts. This can assist guarantee smooth operation once the handle is reattached.
Action 6: Reattach the Handle
Thoroughly reattach the handle by aligning it appropriately and protecting it with screws. Guarantee whatever is tight and protected however do not over-tighten to prevent removing screws.
Step 7: Test the Handle
Carefully test the handle to ensure it runs smoothly. If there are still issues, confirm the installation and ensure all components are lined up correctly.
Cost Breakdown
Understanding the cost related to emergency door handle repair handle repair can help property owners budget plan appropriately. Below is a basic cost breakdown:
| Item | Estimated Cost |
|---|---|
| Replacement Handle | ₤ 10 - ₤ 50 (depending on style and quality) |
| Screws and Fasteners | ₤ 1 - ₤ 5 |
| Lube | ₤ 3 - ₤ 10 |
| Tools (if required) | ₤ 10 - ₤ 50 (depending on what you do not have) |
| Total Estimated Cost | ₤ 24 - ₤ 115 |
This is considerably lower than working with a professional to handle the repair, which can frequently vary from ₤ 100 to ₤ 200, depending on the intricacy of the problem.
Regularly Asked Questions
Q1: Can I fix a door handle myself?
Yes, the majority of door handle repairs are uncomplicated and can be completed with minimal tools and effort.
Q2: How long does it require to repair a door handle?
Generally, a basic repair can take anywhere from 15 minutes to an hour, depending on the issue and the experience of the person doing the repair.
Q3: What if the door handle is still not working after a repair?
If the handle continues to malfunction, you might require to change the entire handle or speak with a professional for more complex concerns, like internal door frame problems.

Q4: Is it worth purchasing expensive door handles?
Quality handles tend to last longer and require less regular repairs. However, it's vital to balance quality with your budget plan.
Door handle repair is an accessible ability for homeowners wanting to conserve money and keep their homes in top condition. With a little bit of perseverance, the right tools, and this thorough guide, anybody can tackle the job of fixing or replacing a door handle affordably. By following the steps laid out above, property owners can guarantee that their door handle mechanic handles stay practical and stylish. Now, grab those tools, and get started on your affordable door Handle repair handle repair journey!