Guide To Fascia Board Replacement: The Intermediate Guide Towards Fasc…
페이지 정보
본문
Comprehensive Guide to Fascia Board Replacement
Fascia boards are vital elements of a roofing system, functioning as a barrier and support for the lower edge of the roofing system. Gradually, these boards can experience weather-related damage, wood rot, or insect invasions, necessitating their replacement. This article will offer a thorough guide to Fascia Board Replacement - click through the next site,, covering everything from the signs of damage to the replacement process, expenses, and often asked concerns.
What is a Fascia Board?
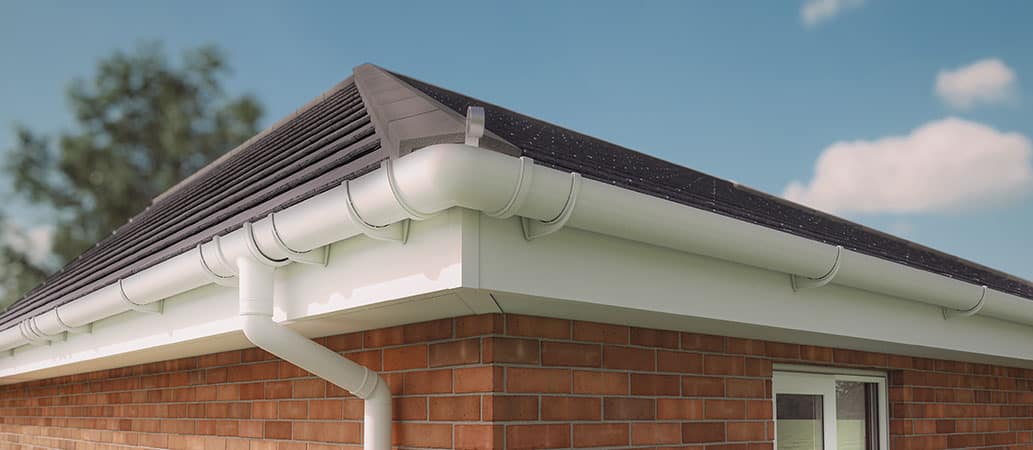
Fascia boards are normally made from wood, composite products, or PVC, and they are installed horizontally along the lower edges of the roofing. They serve numerous crucial functions:
- Support for Gutters: Fascia boards offer a safe and secure base for rain gutters, which assist handle water overflow from the roofing.
- Defense from the Elements: They function as a barrier against wetness, insects, and other environmental factors.
- Visual appeals: Fascia boards enhance the overall look of a home, giving it a finished appearance.
Signs of Fascia Board Damage
Recognizing damaged fascia boards early is important to avoiding more structural concerns. Here are some signs to look for:
| Signs of Damage | Description |
|---|---|
| Peeling Paint | Suggests wetness damage; paint that bubbles or peels might signal underlying rot. |
| Wood Rot | Soft, spongy, or discolored wood suggests serious damage and decay. |
| Bug Infestations | Presence of pests, such as termites or carpenter ants, shows wood damage. |
| Drooping Gutters | If gutters are retreating from the home, it may be due to harmed Fascia Board Repair boards. |
| Visible Cracks or Holes | Fractures or holes might allow water intrusion, causing further damage. |
Tools and Materials Needed
Before starting the replacement procedure, it's important to gather the needed tools and materials. Here is a list of what you will require:
Tools
| Tool | Function |
|---|---|
| Hammer | For removing old nails and securing brand-new boards. |
| Saw | To cut new fascia boards to size. |
| Drill | For installing screws or fasteners. |
| Level | To make sure the fascia is installed directly. |
| Ladder | For accessing high areas safely. |
| Security goggles | To protect the eyes during demolition and installation. |
Products
| Material | Function |
|---|---|
| Fascia Board | New boards to replace damaged ones. |
| Wood Sealant or Paint | To secure the new fascia board. |
| Galvanized Nails/Screws | For safe attachment of fascia boards. |
| Gutter Hangars | If needed, to support new or existing seamless gutters. |
Replacement Process
Now that you have the tools and materials, it's time to start the replacement process. Follow these steps for a successful fascia board replacement:
Step 1: Safety First
Before starting, ensure you have the appropriate security devices, including gloves, safety glasses, and strong shoes. Set your ladder on stable ground and use ladder stabilizers if available.
Action 2: Remove the Old Fascia Board
- Examine the Gutter Replacement: If seamless gutters exist, thoroughly remove them by unscrewing the wall mounts.
- Pry Off the Old Board: Use a lever or hammer to eliminate the old Fascia And Soffit Installation board, taking care not to damage surrounding locations.
- Look for Damage: Inspect the underlying structure for signs of rot or bug damage.
Step 3: Measure and Cut New Fascia Board
- Procedure the Length: Use a measuring tape to determine the length of the new fascia board.
- Cut the Board: Using a saw, cut the new board to size. If utilizing wood, think about treating it with sealant for much better longevity.
Step 4: Install the New Fascia Board
- Position the Board: Place the new fascia board in the desired area, making certain it's level.
- Protect the Board: Fasten the board using galvanized nails or screws, guaranteeing they permeate deeply for optimal hold.
Step 5: Reinstall Gutters
If seamless gutters were removed, reinstall them utilizing the initial wall mounts or new ones if required. Ensure they align properly with the brand-new fascia board.
Step 6: Finish and Seal
- Paint or Seal: If desired, paint the brand-new fascia board or use a wood sealant to protect it from moisture.
- Tidy up: Remove any debris, tools, and products used throughout the procedure.
Expense of Fascia Board Replacement
The cost of replacing fascia boards can vary based on several aspects, including products used and labor expenses. Below is a table that offers a rough estimate:
| Cost Factors | Estimate |
|---|---|
| Products | ₤ 1 to ₤ 5 per direct foot |
| Labor Costs | ₤ 50 to ₤ 75 per hour |
| Overall Project Cost | ₤ 500 to ₤ 2,500 (depending upon house size and regional labor rates) |
FAQ About Fascia Board Replacement
1. How often should fascia boards be changed?
Best Fascia Replacement boards can last 20-25 years if well-kept. However, replacement may be needed earlier if significant damage happens.
2. Can I change fascia boards myself?
Yes, with the right tools and understanding, a DIY enthusiast can change fascia boards. However, for safety and effectiveness, hiring a professional is suggested if you are unsure.
3. What product is best for fascia boards?
Wood, PVC, and composite products are popular choices. PVC or composite products use better toughness and low maintenance compared to wood, which may require routine painting and sealing.
4. How can I maintain my fascia boards?
Regular inspections for signs of damage, keeping gutters clean, and applying protective sealants can extend the life of fascia boards.
5. Why is fascia board replacement essential?
Replacing harmed fascia boards is vital to keeping the integrity of the roof, preventing moisture invasion, and safeguarding versus insect infestations.
Fascia board replacement is an essential element of home maintenance that must not be ignored. With correct identification of damage, the right tools, and a solid understanding of the replacement procedure, house owners can ensure their fascia boards remain in excellent condition, eventually safeguarding their home and improving its aesthetic appeal. If in doubt, always seek advice from professionals to make sure quality work and safety.